apps
Students and Teachers as Makers: Apps to Present and Share Lessons and Learnings (Part 2)
In Part I of this post, I introduce the web-based application Present.me as a potential tool for you and your students to create video presentations, tutorials, and lessons.
Two additional tools my students and I enjoy are ScreenChomp and Screen-cast-omatic.
ScreenChomp (available in iTunes) is-in essence- a white board that you can record. Teachers utilize ScreenChomp to record their drawings, diagrams, or text on a whiteboard or customizable background with audio explanation and guidance. You can pause the video, insert photos and PDFs, change the background, erase, and then publish as a link or save to your account to share with students. Want to be really efficient with your time? Connect your iPad to a project with AirPlay mirroring through an Apple TV or a VGA adapter so you can record the demonstration or lesson while you are teaching face-to-face. Then, post the link of the ScreenChomp for students to review.
Check out the developer Tech Smith’s website for an overview of features.
Ideas for students:
- Demonstrate a process with a “think-aloud” like solving a math problem or conjugating a certain type of verb in a language class.
- Respond to a picture or prompt by annotating and talking about their responses.
- Crate a video lesson for their classmates on a focused topic or skill like mitosis vs. meiosis or allusions in literature.
 Screen-cast-o-matic is a free web-based tool you can use to screen capture your desktop on a PC or Mac. Click on the screen recorder button on the website and a dotted-line box appears that you can re-size to create a record window on your screen. This is my go-to tool to create quick tutorials for technology topics ranging from citing sources in databases to creating a Google Doc. The free version does limit the recording time, but in general tutorials are under five minutes, so I haven’t had a problem there.
Students and Teachers as Makers: Apps to Present and Share Lessons and Learnings (Part I)
Thinking about “flipping” your classroom? Looking for tools your students can use to demonstrate their learning? I’ve become a fan of three simple (and free) apps that you and your students can easily use to record and share tutorials, lessons, and demonstrations.
Present.me
For those of you who miss the face-to-face quality of in-class tutorials and instruction, this website might be just what you are looking for to create and share tutorials or presentations with your students while maintaining that human and personal aspect. Present.me allows you to create presentations with slides and video, slides and audio, or just video. Upload your existing presentations, PDFs, or pictures and then record a video where you explain or teach in a split screen. Feeling a little camera shy? It’s just as easy to record audio alongside the slides as video.
Check out the fractured fairy tale book talk for my example and Present.me’s own list of simple tutorials.
The free version allows you to upload content and record video, audio, or video-only. You cannot download the video and save as a file with the free account, but you can embed the video in a web page or share through social media sites and the direct link.
A few things I learned while making my own Present.me:
- Write your content first if starting from scratch–If you have an existing lesson or PPT, then it should be relatively quick to create your own explanation or to record the lesson you are accustomed to. If starting from scratch, I definitely recommend writing a script, first. The better Present.Me videos do have more of an “off-the-cuff” feeling. I wasn’t quite there with my first attempt, so I split my screen and had a script up that I read from while clicking through the slides.
- Practice your timing before you record–I think I took something like 8 recordings before I got to the final version. Many of the deleted versions were due to clumsy fingers. When you record video or audio alongside slides, you have to click to advance the slides while you record…takes a couple of practice rounds to get used to, but then it’s a synch.
- If you video, use a high(er) quality camera–I went with the built-in camera on my iMac, but will try using my webcam next time. I wasn’t too happy with how pixelated the video came out, and there was a slight delay in motion with the audio. But, that’s a nit-picky thing.
Ideas for students:
- “Me-Presentation”–this platform lends itself well to a little bio about yourself or even an alternative to the paper resume.
- Explanatory/ Process–Students could create a presentation aimed at explaining a process or concept that utilizes examples or diagrams.
- Digital Storytelling–What if students narrated their own stories alongside a visual storytelling technique? We’ve been using MovieMaker, iMovie, and Animoto for digital storytelling, but those tools eliminate a lot of the power of students’ own voices when telling the story. Why not allow them to tell the story alongside the story for a dynamic narrative experience?
Adventures in iPads: Initial Deployment Woes and the Sites that Saved My Sanity
The Adventure Begins…
 |
| 10 Biggest Questions about iPads in the Classroom |
[Enter site #1 that helped me wrap my brain about iPad deployment in schools]
http://www.scoop.it/t/ipadsineducation
A collection of deployment guides and resources for schools including a presentation on the role of iPads in schools, Apple’s VPP program, and integrating technology into instruction.
Initial roadblocks…
1) iPads are designed to be unique and personalized for their users–the functionality of the iPad (synchronized email, contacts, calendars, apps, iTunes, etc.) does not transfer to school models where iPads are used by multiple students.
 2) iPads are designed to be managed through a home computer, one at a time–Schools who purchased thirty or more iPads for classroom use struggled to painstakingly sync and manage each device, one at a time–a very lengthy and monotonous process (speaking from personal experience). Today, we have a MDM (multiple-device-manager) and a nifty little application that allows a school’s device manager (me) to upload content and manage multiple devices at one time–Apple Configurator.
 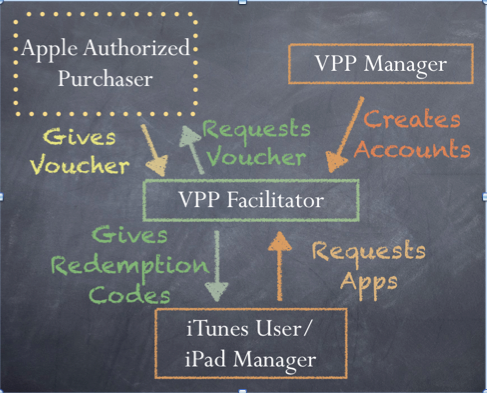 |
| http://wafflebytes.blogspot.com/2011/11/ipads-in-classroom-volume-purchase.html |
They are here!
Ummm…everything is plugged in, why aren’t the dang things charging?
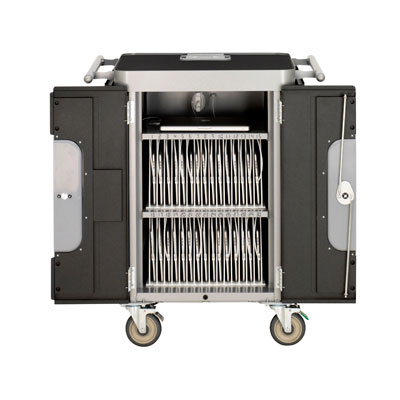 |
| PowerSync Cart |
The solution? Easy-peasy. Remove the bottom dividers, reach back, and jiggle the power cord to the cart, plug in the wall, flip the switch…and voila! We had power. This took about another hour of our time.
Two hours into our deployment day and we hadn’t even started the iTunes process.
It’s helpful when you have a working iTunes account.
How the heck do we get all of these tools to play nice?
While waiting to hear back about iTunes, we read and re-read, and read again the directions on using Apple Configurator and the Bretford PowerSync cart. [Enter website #1 that saved my sanity].
 Our iTunes delay did allow us to think about the profile we wanted to create for the devices. Apple Configurator not only allows you to upload and manage the content on the iPads, but it also allows you to enable and disable its features to create profiles. For example, the student profile we pushed out to all 30 iPads allows for use of Safari, the built in camera, and it is automatically connected to the Student wifi. Students cannot, however, change the wifi settings, delete or purchase apps, or access iCloud or photo stream. Nice!
While we are waiting…what ARE we going to put on these things?
Thank goodness for Mme. Morgan’s type A personality. The two of us split up and scoured blogs, Pinterest board, websites, and Twitter for lists of recommended apps for education.
[Enter in several more sites that helped us further explore iTunes and the world of apps]
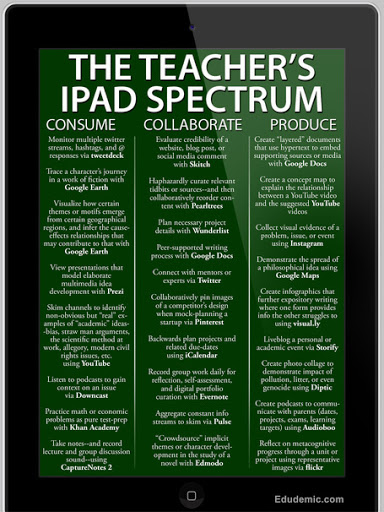
http://appsineducation.blogspot.com/p/maths-ipad-apps.html
apps organized by content area
http://www.educatorstechnology.com/2012/06/blooms-taxonomy-for-ipad.html
apps organized by Bloom’s taxonomy
http://pinterest.com/gcisdtech/ipads/
Pinterest board for iPads in the classroom maintained by GCISD
Finally, let’s load these babies!
Final touches…
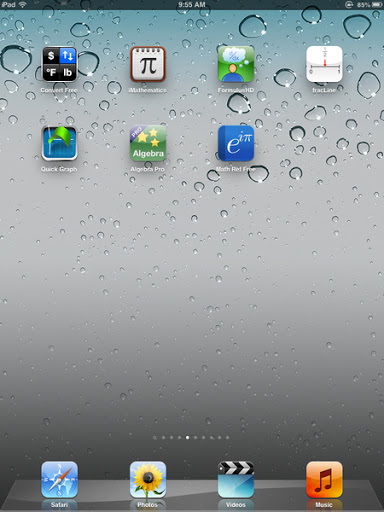
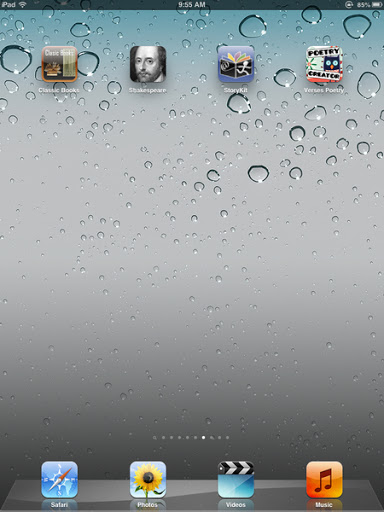
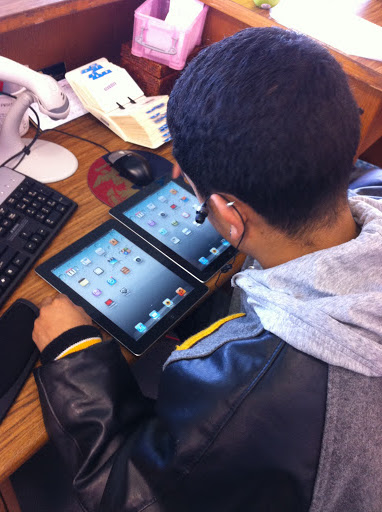 Our final step in preparing the devices for initial use involves manually organizing the apps by functionality and content onto screens so that they are classroom ready. This step must be done one-by-one…thank goodness for savvy student aides!
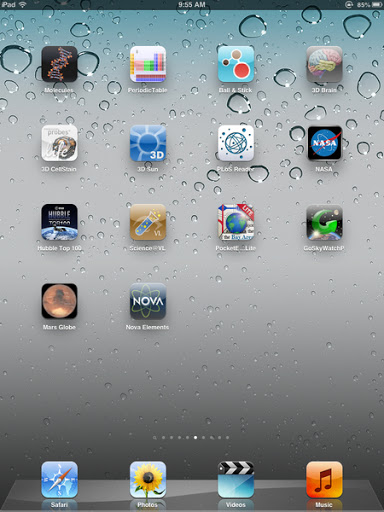
And the final product:
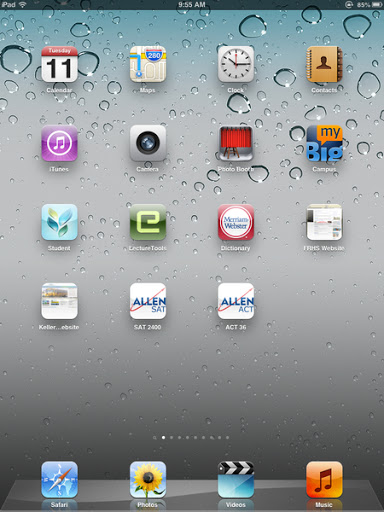 |
| Home Screen |
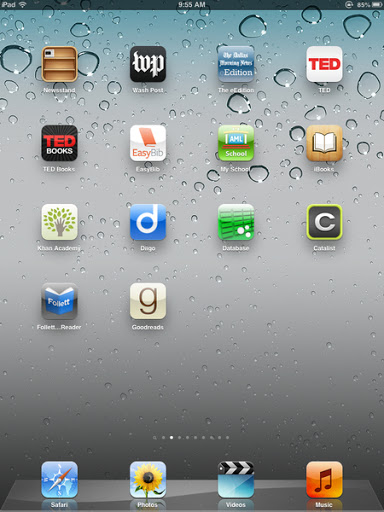 |
| Read and Explore |
 |
| Social Studies |
 |
|
Foreign Languages
|
 |
|
Science
|
 |
| Math |
 |
| Language Arts |
 Stay tuned for more adventures in iPads!

Tech Tuesday: My Big Campus

Tech Tuesday: My Big Campus, a safe online classroom platform
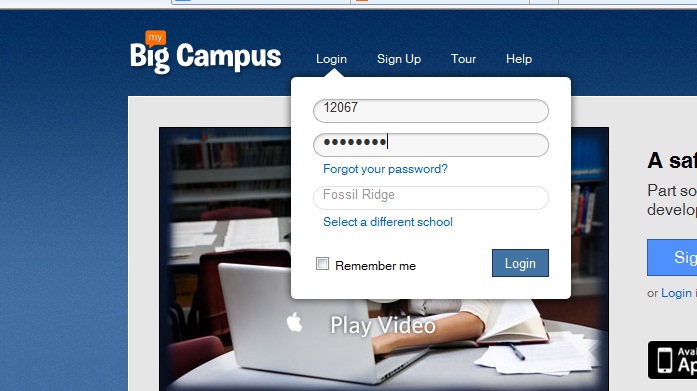 Groups–Getting started is easy-peasy! Teachers and students are already registered. In fact, when you click on your groups, you will see each class period and subject already organized into groups.Students will see each of their classes as well. Click on a group to enter the online classroom for that class period.
“Right now, I am loving the calendar feature. Each morning I put our physics plan for the day on the calendar and in the description portion I let the students that are absent know what they will need to do in order to make-up their missing work for the day. I no longer have to answer the dreaded question “I was absent yesterday, did I miss anything?” ~ Camren Robinson
Both students and teachers can maintain a blog through MBC. Blogs allow for a personalized platform to reflect on learning in any content area.
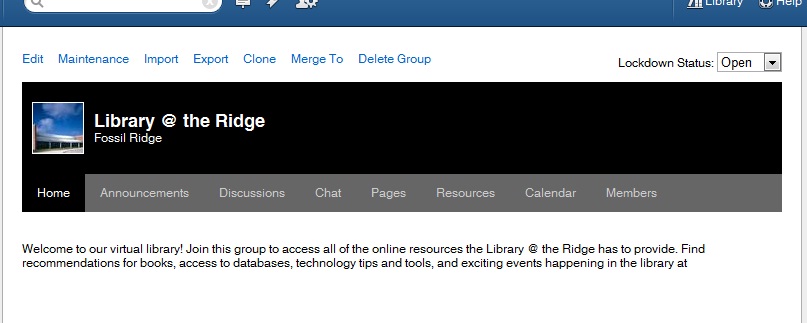
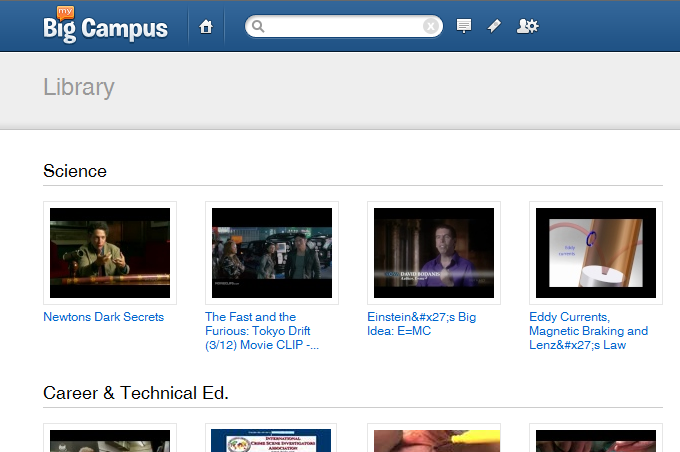
One of the most useful features in MBC is the Library. Teachers can search for content that has been uploaded into bundles to pull into a bundle for their class. They can also upload additional content and share with team members.
Tech Tuesday: Apps for Animation
Tech Tuesday: GoAnimate and Sock Puppets

 I’ve asked Madame Morgan to be my guest on the blog this week, and she graciously accepted.
 Why did you choose GoAnimate and Sock Puppets?
What obstacles, limitations, or surprises did you encounter?
What are the benefits to using applications and web 2.0 tools for animation?
- engages students in the learning process as they synthesize content into a digital story
- supports collaboration between students through the writing process: brainstorming, story-boarding, drafting, revising, publishing
- a task with an identified audience of their peers, other students, YouTube, etc. provides relevance along with rigor
We’d love to hear your thoughts regarding possible extensions and adaptations of this project in your content area! Feel free to leave any questions or thoughts for Mme. Morgan as well.
Tech Tuesday: Socrative, Mobile Classroom Response
Tech Tuesday (again…late, by 6 days! oy vey…): Socrative.com

My apologies for my tardiness. Last week, I was able to demonstrate a fantastic mobile app and website that allows teachers to create response activities for students. The fifty or so teachers who sat in on my demonstration were so very patient with my technology flubs and mishaps. I promised to be more organized in my blog post, so here it goes!
Overview:

Prezi and QR: The Next Wave of Information Delivery
Tech Tuesday #1
Welcome to the first edition of Tech Tuesday! Each Tuesday I will post a blog that highlights technology tools for instructional use. This week, I thought we’d take some time to explore two tools that I shared with the staff at Fossil Ridge High School as part of library orientation: Prezi and QR Codes.
Both of these tools have the potential to engage an audience by disseminating information through Web 2.0 tools and smart apps. Both are free (whoop!) and both are rather intuitive for the presenter and the audience.
 |
| Click on the logo to go to the site |
Prezi
To get staretd, go to Prezi.com, create an account and watch a couple of their easy-to-follow video tutorials. Start small and give yourself plenty of time to become comfortable with the tool before trying it out on an audience.
Check out some of these teacher Prezis for more ideas!
Class Introductions:
Quick Response “QR” Codes
 |
